
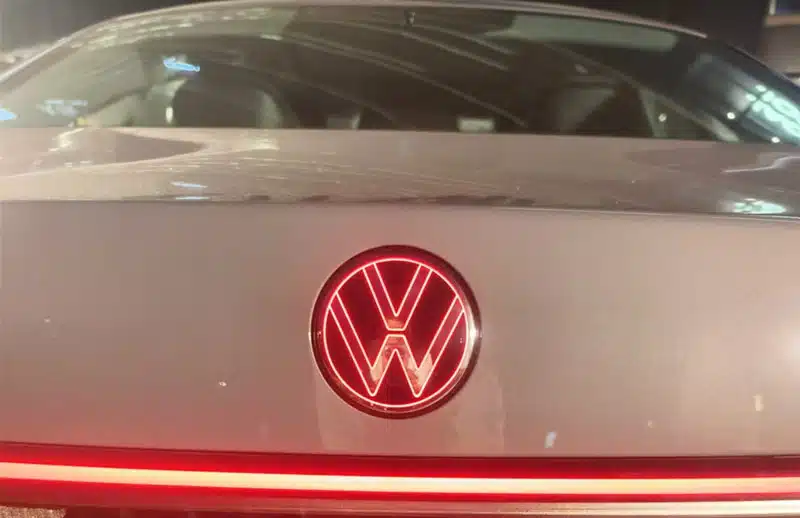
Installing a VW rear LED emblem is trickier than fitting the front one. You have to run wires to a power point inside the tailgate, so you’ll need to get into the trunk area and lay the cables. The actual wiring work is easy, though, and you won’t need any professional skills. You just need to follow this guide on how to install VW rear LED emblem, and you’ll finish the whole job from taking off the old badge to turning on the new light.
Before You Start — One Important Difference from the Front Emblem
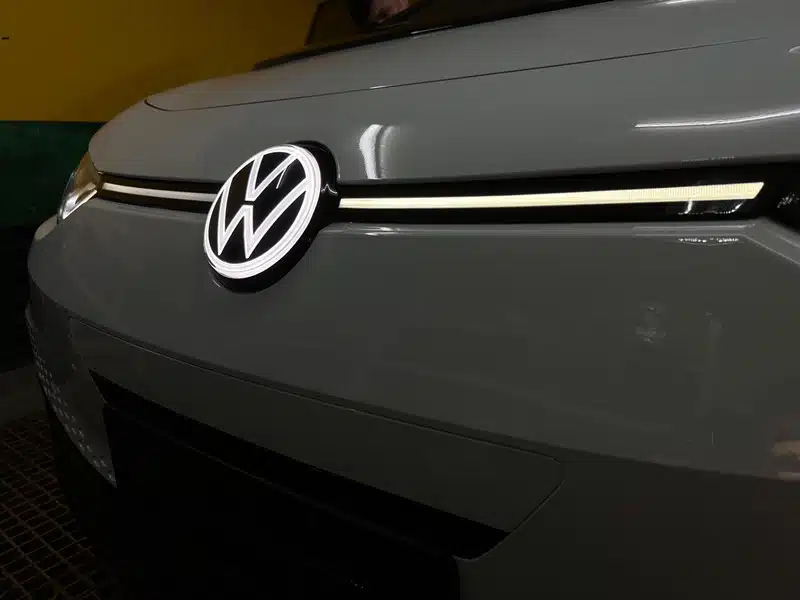
The front VW LED badge connects straight to the daytime running light wiring, and you only need to reach a small space behind the grille. The rear LED emblem works differently. Since it’s mounted on the tailgate, its wires have to go through the body panel and link to power inside the trunk. You’ll need to take off the trunk interior lining to reach the wiring area. This extra step adds 10 to 15 minutes, and it works the same way on all VW vehicles.
Tools you need: Trim removal tool, small drill with appropriate bit, electrical tape, wire stripper (not essential).
Time required: 30 to 45 minutes.
How to Install VW Rear LED Emblem-Step by Step
Step 1 — Remove the factory rear emblem

Work a trim tool or fishing line behind the factory rear badge to cut through the adhesive and release the retaining clips. Go slowly around the badge’s edge to avoid scratching the paint, then lift the original emblem off once fully detached.
Step 2 — Remove the trunk liner
Open the tailgate and unclip the interior trunk liner. All standard VW models use simple plastic push clips to secure the lining. Removing this panel exposes the tailgate’s internal cavity, creating access for wiring installation.
Step 3 — Drill and feed the wire
Mark a fitting position on the tailgate panel near the emblem mounting area, then drill a small-sized hole just enough for the wire connector to pass through. Feed the new LED emblem’s wiring harness from the exterior side through the hole into the inner tailgate cavity.
Step 4 — Route the wiring to the power source
Run the wiring harness through the tailgate’s internal space toward the license plate light or rear taillight assembly. Follow the factory’s existing wire pathways to keep the wiring clean, secured, and free of slack.
Step 5 — Install and secure the LED emblem
Press the new VW rear LED emblem firmly into the mounting position on the tailgate, aligning it with the original adhesive recess. Apply even, firm pressure across the entire emblem surface until it sits fully flush and securely fixed to the tailgate panel.
Step 6 — Connect the two wires
This is the sole electrical step for the install. Match up the two harness wires correctly:
- Red wire → Positive (+) terminal of the license plate light or tail light
- Black wire → Negative (−) terminal / Ground of the license plate light or tail light
Connect each wire to the corresponding terminal, insulate every wired joint with electrical tape, tidy up and tuck all wiring into the cavity, then reinstall the trunk inner liner to finish.
-
Original price was: $200.00.$179.99Current price is: $179.99.Select options This product has multiple variants. The options may be chosen on the product page


Test Before Closing Up
Hold off on reinstalling the trunk liner. Turn on the parking lights or activate the vehicle ignition to test the LED emblem. Confirm it lights up normally. If the emblem stays dark, check the two wire connections first — loose terminals are the typical issue. Secure all connectors tightly and re-seal the joints with electrical tape.
If you have any problems during the process, contact our support team with your VW model and year, and we’ll offer guidance to resolve the problem.
Shopping for more models of VW light-up emblems? Check here: https://dubaccessories.com/category/vw-light-up-emblem/